
If you've arrived here, then you are definitely in the business of making your own clothes, well done!
Hopefully everything went smoothly during the construction and you can be already proud of your achievement! However, there's one last and crucial step before wearing your creation: hemming.
While it can seem like a last bothersome step, you don't want to rush it as the result can really make a difference in the final look of the garment.
So, today we'll talk about how you can easily hem stretch fabric garments and get perfect results every time!

In addition to learning the general method, you'll want to bookmark this post as we'll also cover an easy method to overlock in the round! This simple trick really elevates your sewing skills to the next level and can be used on any projects, so you don't want to miss it!
Basics of a great looking hem
First, you want to have your edges finished in some way. A zigzag or an overlock stitch on a home sewing machine will look great. For a little refresher course on how your standard sewing machine can be used to sew stretch fabrics, follow the link.
If you have the opportunity to use an overlocker, this method will give you the seam finish the closest to a ready made garment.
Now, with an overlocker, it can be sometimes a little tricky to finish an edge in the round. But, with our super easy method, fear of overlocking in the round will be a thing of the past.
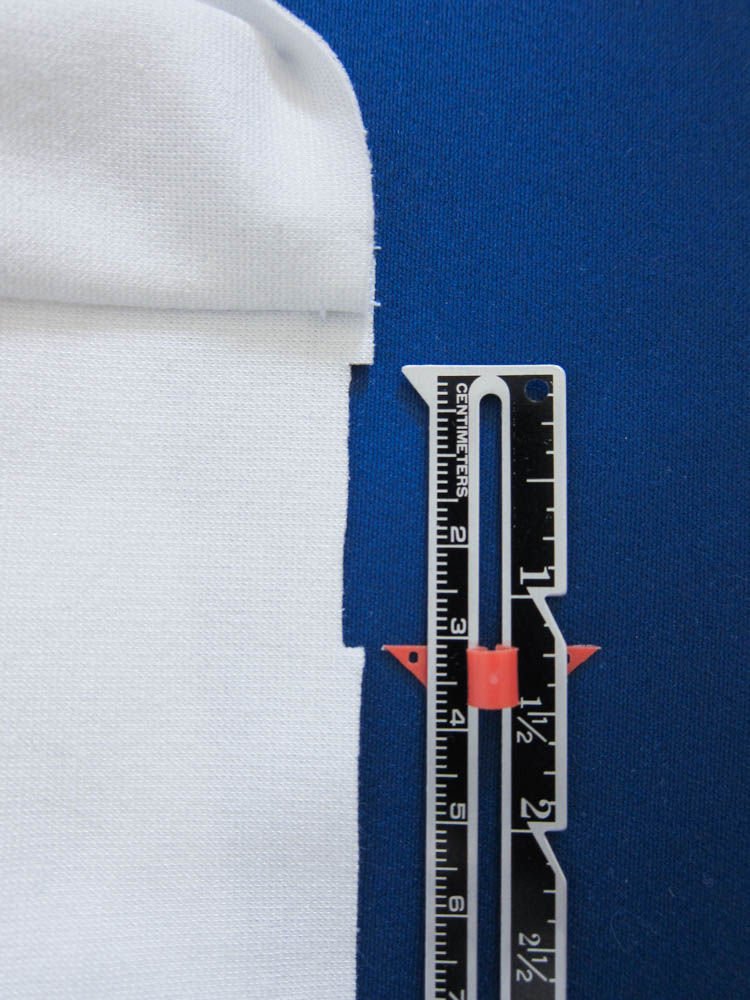
Start by measuring your overlocker stitch width. Then substract this width to the seam allowance on your pattern.
For exemple, if your stitch width is 5 mm and the seam allowance is 8 mm then you get 3 mm.
This will give you the amount of fabric your overlocker cuts away when stitching.
Next, cut a rectangular notch of about 3 cm long and the amount your overlocker cuts away for the width.
Let's sew!
Place the edge to overlock under the presser foot taking care to start somewhere on the notch you've cut away.
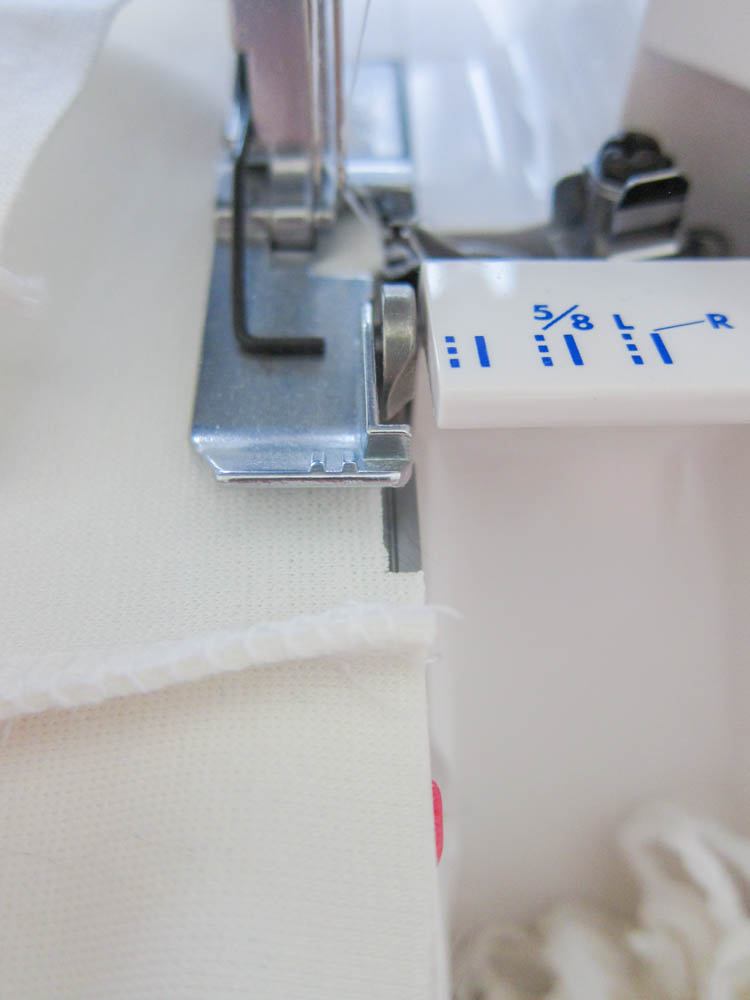
Start stitching all around the edge until you reach the notch again.

Now comes the magical part!
Because you have first removed the excess fabric with the notch beforehand, you don't need to have your knife cutting the fabric any more and you can carefully remove it to finish overlocking.

That way, you can overlock on top and secure the beginning of your stitching without cutting away the first threads.

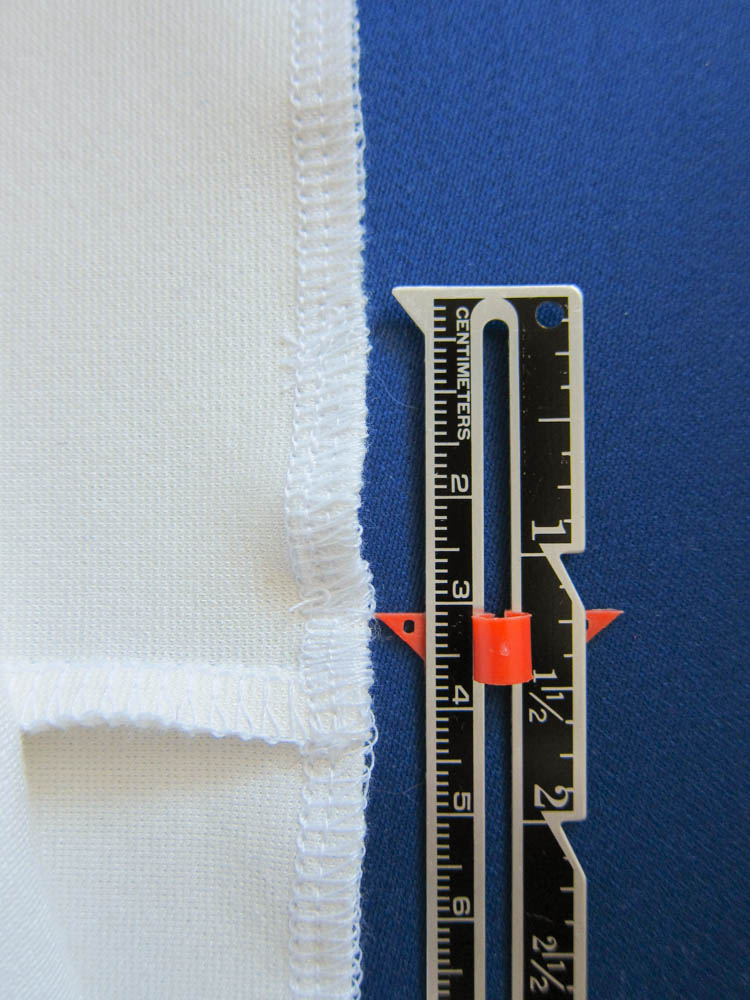
Voilà, a prefect looking edge!
Now that the edge is finished, the only thing left to do is stitch the hem.
Hem with a double needle
Start by measuring and pressing in place the hem. Then pin it and stitch with a double needle.

To use a double needle, you'll need two upper threads. Install and thread them all the way together but finish by threading each needle with only one of the threads to get your double needle ready.

Because the stitch produced with a double needle is stretchy, even when using a straight stitch, you'll get a beautifully elastic edge that won't break even if your fabric stretches when you put your new garment on.
Admire your handy work, a very professional looking edge!

Now that your creation is hemmed, you can wear your beautiful make with pride!